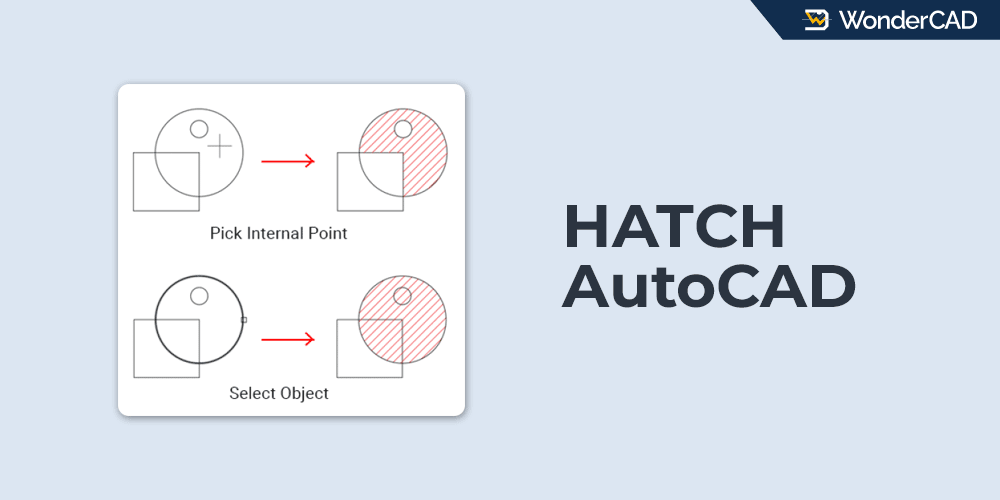
In this tutorial, you’ll learn how to use the HATCH command in AutoCAD.
The HATCH command is used to fill closed objects or enclosed areas with hatch patterns, solid colors, or gradients.
In technical drawings, hatches are commonly used to represent section views and cut surfaces.
The icon and keyboard shortcut for the HATCH command are shown in the table below.
| Command | HATCH |
| Function | Create hatch patterns, solid fills, and gradients |
| Icon | |
| Shortcut | H |
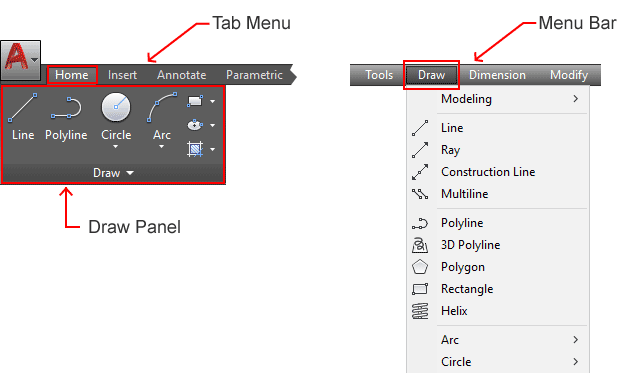
The HATCH command belongs to the DRAW command group.
You can activate it from the Draw panel on the Ribbon, or from the Draw menu on the Menu Bar.
If you prefer using the command line, type HATCH or simply type H, then press Enter. The HATCH command will be ready to use.
When the HATCH command is active, the Hatch Creation tab is displayed automatically. It contains several panels for configuring hatch settings, as shown in the image below.
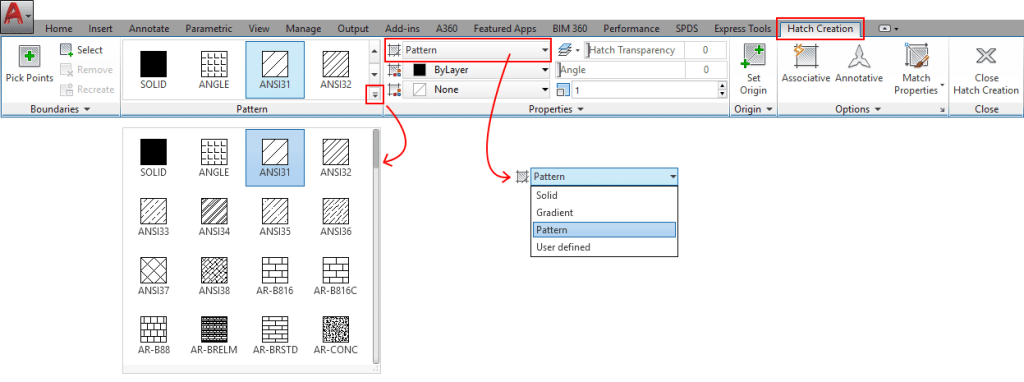
If you prefer using a dialog box to create and edit hatches, type HPDLGMODE at the command line and press Enter. Then set its value to 1.
A. Boundary Selection Methods
There are two methods for selecting the hatch boundary: Pick Internal Point and Select Objects. The difference between these methods is shown in the image below.
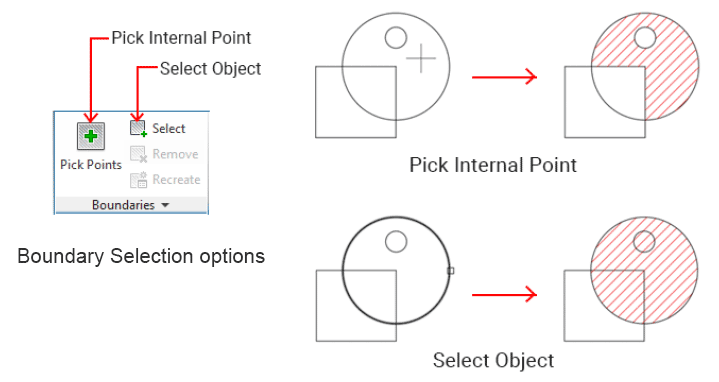
With the Pick Internal Point method, AutoCAD automatically detects the boundary around the selected area and applies the hatch within that boundary.
With the Select Objects method, the entire selected object is hatched, even if there are additional lines or internal divisions inside the object.
B. How to Create Hatches in AutoCAD
The basic steps for creating a hatch in AutoCAD are as follows:
- Start the HATCH command.
- Select the area to be hatched using either the Pick Internal Point or Select Objects method.
- Select a hatch pattern.
- Adjust the pattern scale.
- Press Enter or click Close Hatch Creation on the Ribbon to complete the command.

Leave a Reply