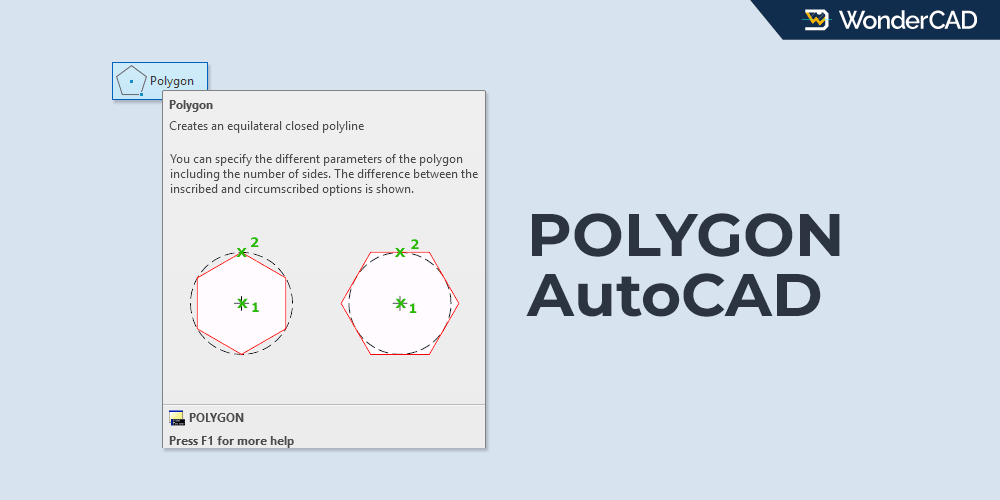
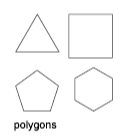
The POLYGON command in AutoCAD is used to create equilateral closed polylines. You can create polygons with anywhere from 3 to 1024 sides.
With the default method, you create a polygon by specifying its center point and radius. In this method, there are two polygon types: Inscribed in Circle and Circumscribed about Circle.
The difference between these two types is shown in the image below.
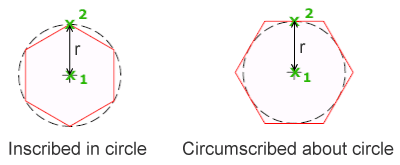
In the Inscribed in Circle type, the radius is measured from the center point to a vertex of the polygon.
In the Circumscribed about Circle type, the radius is measured from the center point to the midpoint of one of the polygon’s sides.
As a result, polygons created with the same radius value will be smaller when using the Inscribed in Circle option.
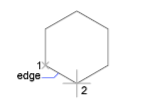
Besides creating polygons using a center point and radius, you can also create polygons by specifying the length of one side.
| Command | POLYGON |
| Function | Create an equilateral closed polyline |
| Icon | |
| Shortcut | POL |
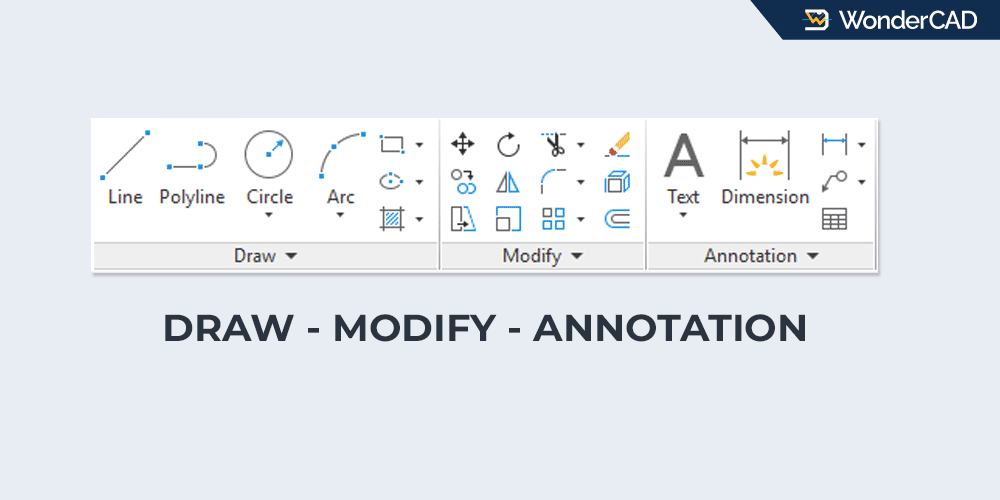
The POLYGON command belongs to the DRAW command group.
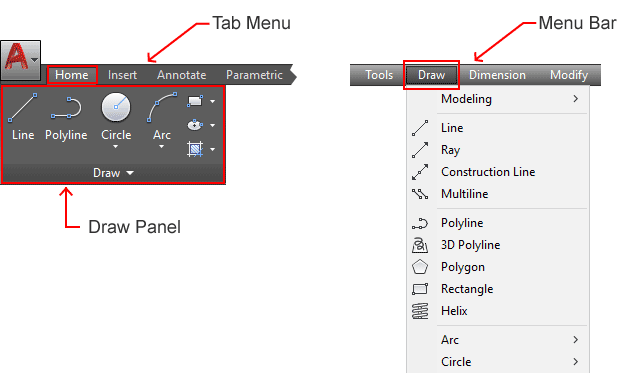
You can find and activate the POLYGON command from the Draw panel in the Ribbon Panel under the Home tab. You can also find it in the Draw menu on the Menu Bar.
If you prefer using the command line, type POLYGON or simply type POL and then press Enter.
A. How to Make a Polygon
First, let’s create a polygon using the default method by specifying a center point and a radius value.
Follow these steps:
- Activate the POLYGON command.
- Enter the number of sides and press Enter.
- Specify the center point of the polygon.
- Select either Inscribed in Circle or Circumscribed about Circle from the command line.
- Specify the radius. You can click directly in the drawing area or type the radius value and press Enter.
If you want to create a polygon by specifying the side length instead, follow these steps:
- Activate the POLYGON command.
- Enter the number of sides and press Enter.
- Select the Edge option from the command line.
- Specify the first endpoint of the edge.
- Specify the second endpoint of the edge.
The two endpoints will define one side of the polygon, and the remaining sides will be created automatically.
B. Prompts and Options
When running the POLYGON command, several prompts and options may appear on the command line:
- Enter number of sides: Enter the number of sides for the polygon and then press Enter.

- Specify center of Polygon: Specify the center point of the polygon. You can click directly in the drawing area.
- Enter an option [Inscribed in circle / Circumscribed about circle] : Select the polygon type that best suits your needs.
- Edge: Use this option to create a polygon by specifying the length of one side.
- Specify first endpoint of edge: Specify the first endpoint of the polygon side.
- Specify second endpoint of edge: Specify the second endpoint of the polygon side. You can click directly in the drawing area or use another method to specify point location
- Specify Radius of circle: Specify the radius value. You can click directly in the drawing area or type the value and press Enter.
C. Examples
First, let’s create a six-sided polygon using the Circumscribed about Circle option, as shown in the image below.
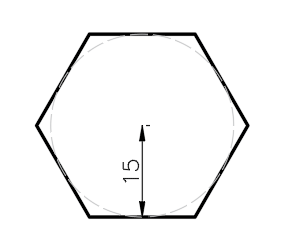
To create the polygon shown above:
- Activate the POLYGON command.
- Enter the number of sides: type 6 and press Enter.
- Specify the center point: click directly in the drawing area.
- Select the Circumscribed about Circle option.
- Specify the radius: type 15 and press Enter.
Next, let’s create a five-sided polygon with a side length of 15, as shown in the image below.
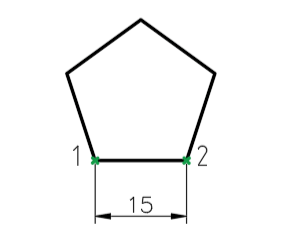
To create the polygon shown above:
- Activate the POLYGON command.
- Enter the number of sides: type 5 and press Enter.
- Select the Edge option from the command line.
- Specify the first endpoint of the edge.
- Specify the second endpoint: move the cursor to the right, type 15, and press Enter.
Leave a Reply