The CIRCLE command is used to create circle objects in AutoCAD. This command is included in the DRAW command group.
If your workspace includes the Ribbon Panel you can activate the CIRCLE command by clicking the Circle icon in the Draw panel under the Home tab.
You can also activate the CIRCLE command from the Menu Bar by selecting Draw → Circle.
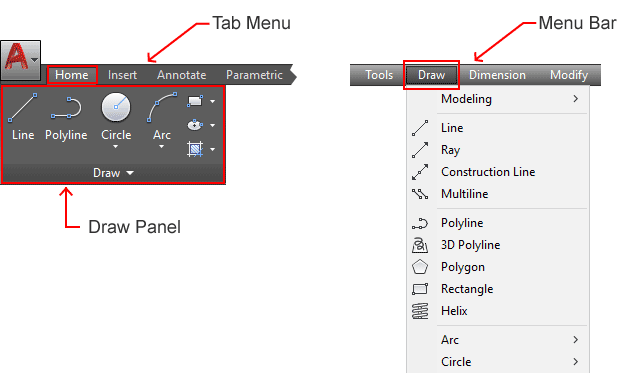
Alternatively, you can activate the CIRCLE command from the command line by typing C and pressing Enter.
| Command | CIRCLE |
| Function | Create circle objects |
| Icon | |
| Shortcut | C |
A. Method Options
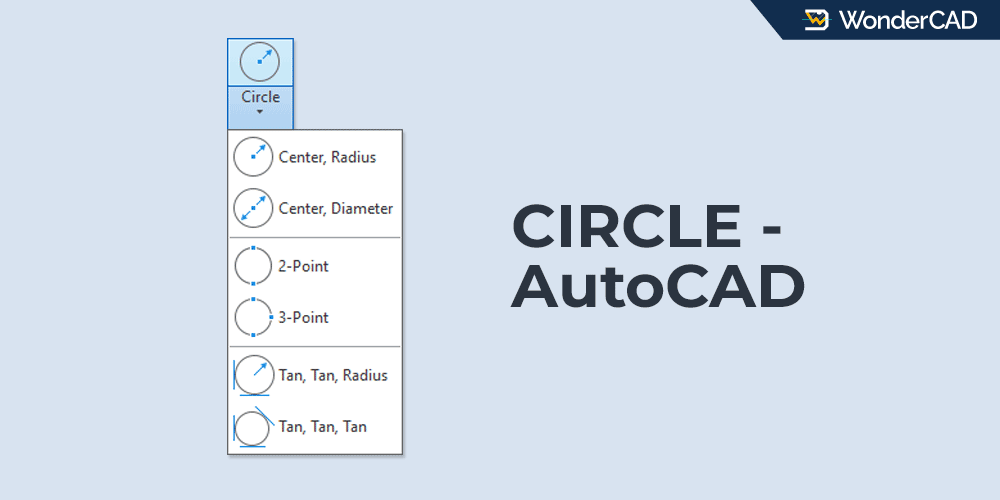
AutoCAD provides six methods for creating circles. You can choose the method that best suits your needs or based on the information available.
The available methods are:
- Center, Radius
- Center, Diameter
- 2-Point (2P)
- 3-Point (3P)
- Tan, Tan, Radius (TTR)
- Tan, Tan, Tan
If you activate the command from the Ribbon Panel or Menu Bar, you can directly select the desired method by clicking the drop-down menu below the Circle icon.
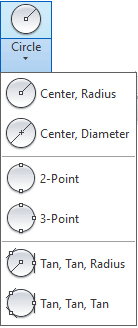
But, if you activate the command from the command line, you must select the method from the command-line options.

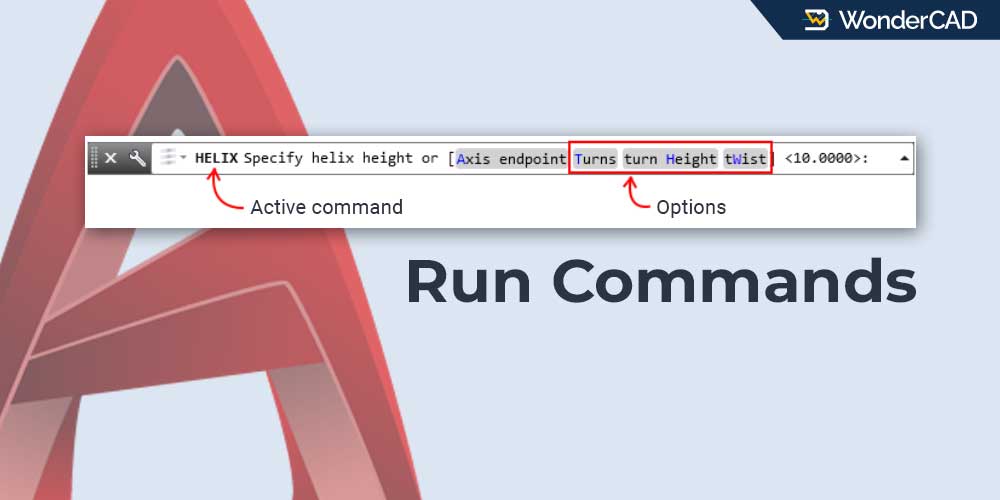
Click here if you don’t know how to select options from the command line.
The following sections explain each method.
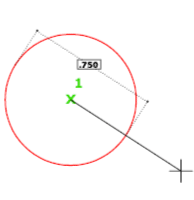
» Center, Radius
This method creates a circle by specifying its center point and radius value. It is the default method for creating circles in AutoCAD.
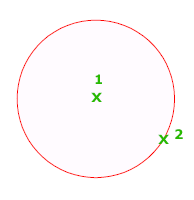
To create a circle using this method:
- Activate the CIRCLE command.
- Specify the center point.
- Enter the radius value.
- Press Enter.
» Center, Diameter
This method creates a circle by specifying its center point and diameter value.
To create a circle using this method:
- Activate the CIRCLE command (Center, Diameter Method)
- Specify center point for circle
- Enter diameter value.
- Press the Enter key on keyboard
Note: If you activate the command from the command line, the Diameter option becomes available after specifying the center point.
» 2-Point (2P)
This method creates a circle by specifying the two endpoints of its diameter.
To create a circle using this method:
- Activate the CIRCLE command (select the 2P method).
- Specify the first endpoint of the diameter.
- Specify the second endpoint of the diameter.
Note: If you activate the command from the command line, select the 2P option immediately after starting the command.
» 3-Point (3P)
This method creates a circle by specifying three points on the circle’s circumference. The three points will be connected to each other to form the perimeter line of the circle.
To draw a circle using this method, follow the steps below:
- Activate the CIRCLE command (select 3-Point method)
- Specify the first point on the circle.
- Specify the second point on the circle.
- Specify the third point on the circle.
Note: If you activate the command from the command line, select the 3P option immediately after starting the command.
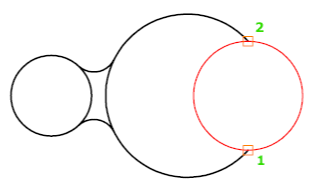
» Tan, Tan, Radius (TTR)
This method creates a circle that is tangent to two existing objects and has a specified radius.
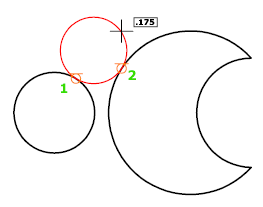
To create a circle using this method:
- Activate the CIRCLE command (select Tan-Tan-Radius method)
- Specify a point on the first object.
- Specify a point on the second object.
- Enter the radius value.
- Press Enter.
Note: If you activate the command from the command line, select the TTR option immediately after starting the command.
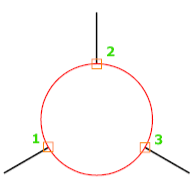
» Tan, Tan, Tan
This method creates a circle that is tangent to three existing objects.

To create a circle using this method:
- Activate the CIRCLE command (select Tan-Tan-Tan method)
- Specify a point on the first object.
- Specify a point on the second object.
- Specify a point on the third object.
Note: The Tan, Tan, Tan method is not available from the command-line options. To use it, activate the CIRCLE command from the Ribbon Panel or Menu Bar and then select the method from the drop-down menu.
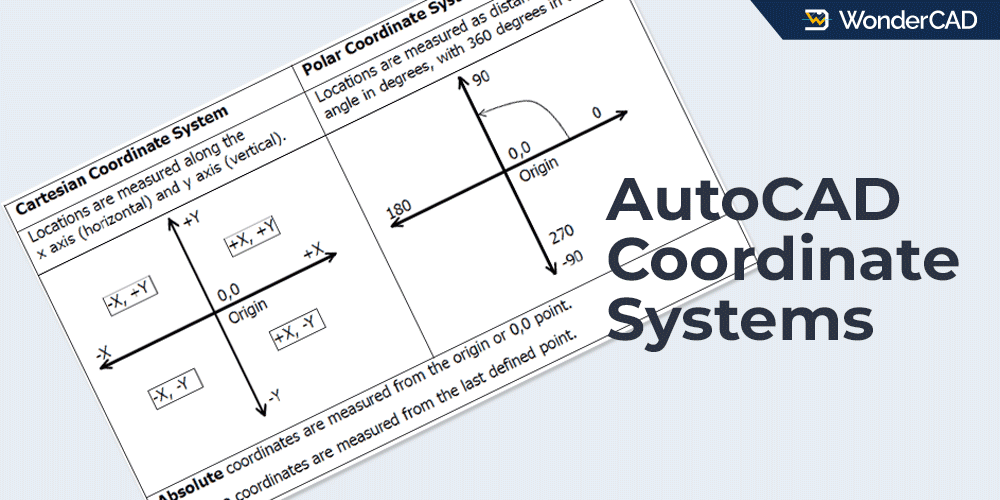
Additional Note: The points required to create a circle can be specified using various coordinate input methods. Click here to learn more about specifying point locations in AutoCAD.
Leave a Reply